


Maintaining proper ear hygiene is an essential part of your pet’s overall grooming routine. Ear infections and irritations are common health problems that can cause your pet discomfort, and in some cases, lead to more severe health issues. Understanding how to properly care for your pet’s ears, identifying early signs of infection, and knowing when to seek veterinary help can make a significant difference in your pet’s comfort and well-being.
This guide will explore the best practices for ear care, how to clean your pet’s ears, and the symptoms to look out for to prevent ear infections and other related conditions.
1. Understanding Pet Ear Anatomy and Common Issues
Pets, particularly dogs, have long and complex ear canals that make them prone to infections. These ear canals are typically more vertical in shape than human ears, which means moisture and debris can easily get trapped inside, creating an ideal environment for bacteria and yeast to thrive. Cats, although they have more upright ears, can also suffer from ear issues, including wax buildup and infections.
Common ear problems in pets include:
- Ear infections (bacterial, fungal, or yeast)
- Ear mites (particularly common in cats)
- Excessive wax buildup
- Allergic reactions (which can lead to itchy ears)
- Foreign objects stuck in the ear canal
- Ear hematomas (swollen, fluid-filled areas caused by trauma)
Regular ear care helps keep these issues in check, preventing infections before they start.
2. Why Is Ear Cleaning Important for Pets?
Regular ear cleaning helps remove dirt, excess wax, and debris that can lead to infections or irritation. It also prevents the buildup of moisture in the ear canal, which is particularly important for pets who swim or spend time outdoors. Additionally, ear cleaning allows you to inspect your pet’s ears for any signs of infection, swelling, redness, or unusual discharge.
Routine ear care can:
- Prevent infections and discomfort
- Keep earwax and debris from building up
- Decrease the likelihood of ear mites and parasites
- Help you detect any early signs of more serious ear problems
However, over-cleaning can also cause irritation, so balance is key.
3. How to Safely Clean Your Pet’s Ears
Cleaning your pet’s ears doesn’t need to be a difficult or stressful task. With the right approach and tools, it can become a simple part of your pet’s grooming routine. Here’s how to do it safely:
3.1. Gather the Necessary Supplies
Before you begin cleaning your pet’s ears, make sure you have all the supplies you’ll need:
- Ear cleaning solution: Purchase a vet-approved ear cleaner that is designed for pets. Avoid using harsh chemicals, alcohol, or hydrogen peroxide, as they can irritate the ear canal.
- Cotton balls or gauze pads: These are gentle and won’t scratch the ear canal. Avoid using cotton swabs (Q-tips), as they can push debris further into the ear canal and cause damage.
- Towel or cloth: For wiping away any excess fluid or to clean up any mess during the process.
3.2. Prepare Your Pet
Start by creating a calm, stress-free environment. If your pet is nervous, take your time and ensure they’re comfortable. You may need to gently hold them in place, especially if they are squirmy or sensitive around their ears. If you have a helper, that can make the process easier.
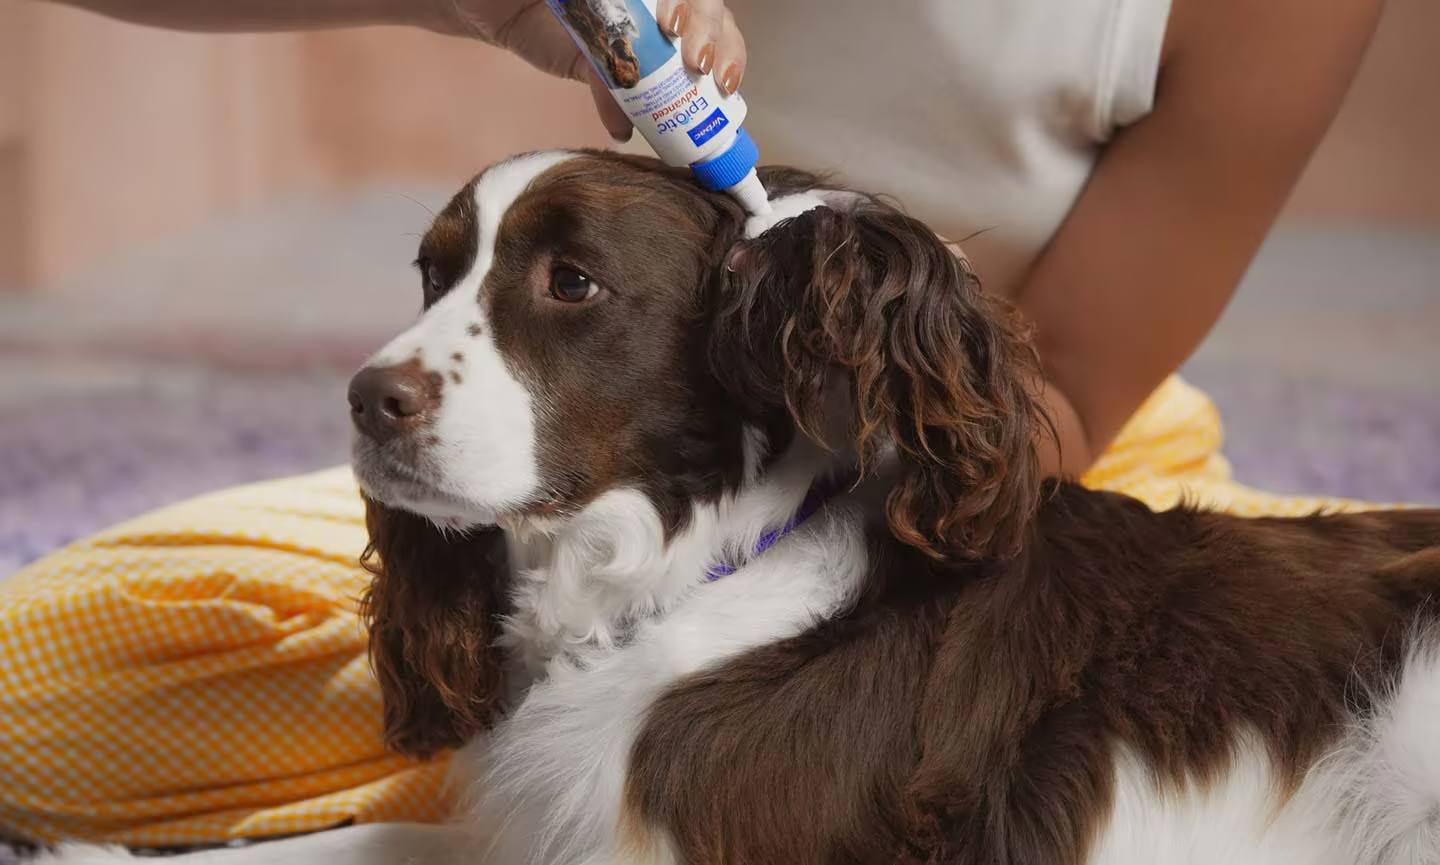
3.3. Apply the Ear Cleaner
Gently lift your pet’s ear flap and apply the recommended amount of ear cleaning solution into the ear canal. Be sure not to insert the nozzle too far into the ear, as you could injure your pet’s ear. Once the cleaner is in, gently massage the base of the ear to help break up any wax or debris. You should hear a squishing sound as the cleaner mixes with any built-up wax inside.
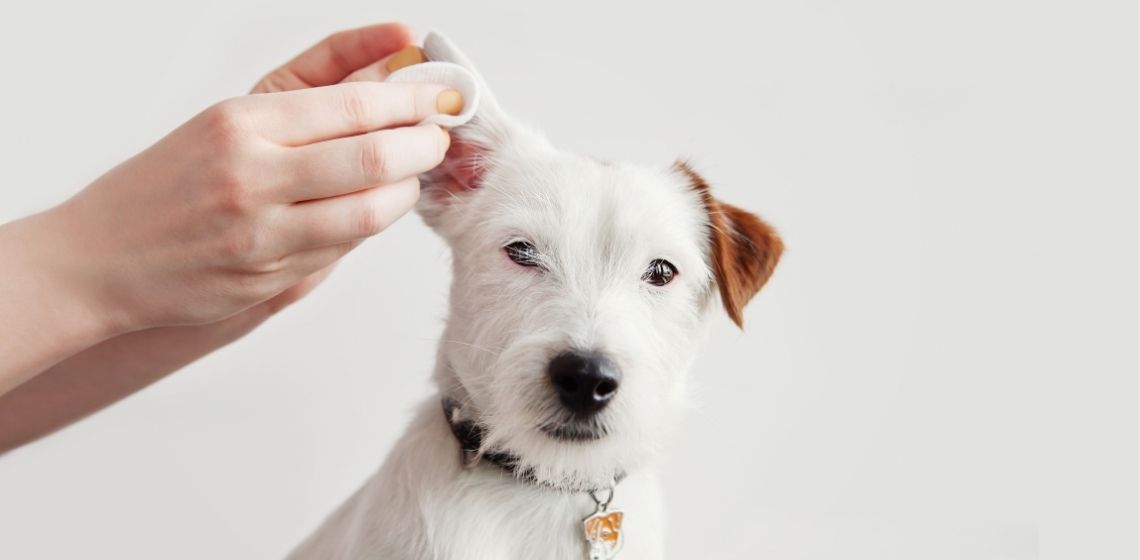
3.4. Wipe the Ear
After massaging the ear, allow your pet to shake their head (this is natural and helps dislodge debris). Then, use a cotton ball or gauze pad to gently wipe the visible parts of the ear and remove any loosened wax or debris. Be gentle and avoid inserting the cotton ball too deeply into the ear canal, as this could cause injury.
3.5. Repeat If Necessary
If the ear is particularly dirty or there’s a significant buildup of wax, you may need to repeat the process once or twice until the ear is clean. Always follow the instructions on the ear cleaner’s packaging and ensure you don’t over-clean, as this can irritate the ear canal.
4. Signs of Ear Infections to Watch For
Ear infections are common in pets and can be caused by bacteria, yeast, ear mites, or allergies. Regularly checking your pet’s ears during grooming can help you catch an infection early. Here are some common signs of an ear infection:
4.1. Unpleasant Odor
If your pet’s ears smell foul or sour, it may be a sign of a bacterial or yeast infection. A strong odor indicates an infection is present and should be addressed as soon as possible.
4.2. Redness or Swelling
Inflamed or swollen ears are often a sign of infection or irritation. Check for redness inside the ear canal, as well as any swelling around the outer ear flap.
4.3. Excessive Scratching or Head Shaking
If your pet is constantly scratching at their ears or shaking their head, it could indicate discomfort caused by an ear infection. Pets may also rub their ears against furniture or the floor to try to alleviate the itchiness or pain.
4.4. Discharge from the Ears
If you notice any discharge, such as yellow, brown, or bloody fluid coming from your pet’s ears, it may be a sign of an infection. The discharge may be thick or sticky, and the ear canal may feel warm to the touch.
4.5. Lethargy or Loss of Appetite
In more severe cases, ear infections can cause your pet to feel unwell. If your pet becomes lethargic, loses their appetite, or seems unusually irritable, it’s time to schedule a visit to the vet.
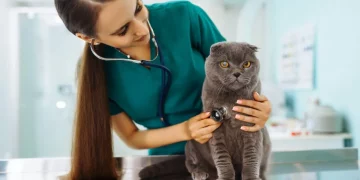
5. When to Seek Veterinary Help
While regular ear cleaning can prevent many ear issues, infections can still occur despite your best efforts. If your pet shows any signs of an ear infection, it’s essential to consult with your veterinarian as soon as possible. They may need to perform a thorough examination, clean the ears professionally, and provide medication (such as antibiotics or antifungals) to treat the infection.
If your pet experiences frequent ear infections, it could be a sign of an underlying condition, such as allergies, autoimmune disorders, or other health issues. Your vet can help identify the cause and recommend the appropriate treatment.
6. Additional Tips for Maintaining Ear Health
6.1. Keep Ears Dry
Moisture in the ears can create a breeding ground for bacteria and yeast. After baths, swimming, or any outdoor activities, dry your pet’s ears thoroughly to prevent moisture buildup. You can use a clean towel or cotton ball to gently wipe away any moisture.
6.2. Monitor for Allergies
Allergies are a common cause of ear infections in pets, particularly in dogs. If your pet frequently scratches at their ears or shows signs of ear irritation, an allergy to food, environmental factors, or parasites could be the cause. Consult with your vet to discuss potential allergens and consider allergy testing if necessary.
6.3. Use Ear-Protecting Products When Necessary
For pets who swim frequently or live in humid environments, you may want to invest in ear-protecting products, such as ear wipes or solutions specifically designed to reduce moisture in the ear canal. These products can help keep your pet’s ears dry and free from infection.
7. Conclusion: Preventing Ear Problems in Your Pet
Regular ear care is an essential part of keeping your pet healthy and comfortable. By cleaning their ears properly, monitoring for signs of infection, and seeking veterinary help when necessary, you can help prevent ear problems before they become serious. Routine ear care will ensure your pet enjoys clear, healthy ears and reduce the likelihood of infections or discomfort.


